
Peanut Butter Pretzel Delights

Last night I had a craving for something delicious, salty, sweet and peanut buttery...makes my mouth water just typing this! I came up with these little cuties and they really hit the spot! I hope you enjoy!

All the ingredients you will need are pretzels, Peanut Butter, Crispy Rice Cereal, Almond Bark and Marshmallows...couldn't be easier!

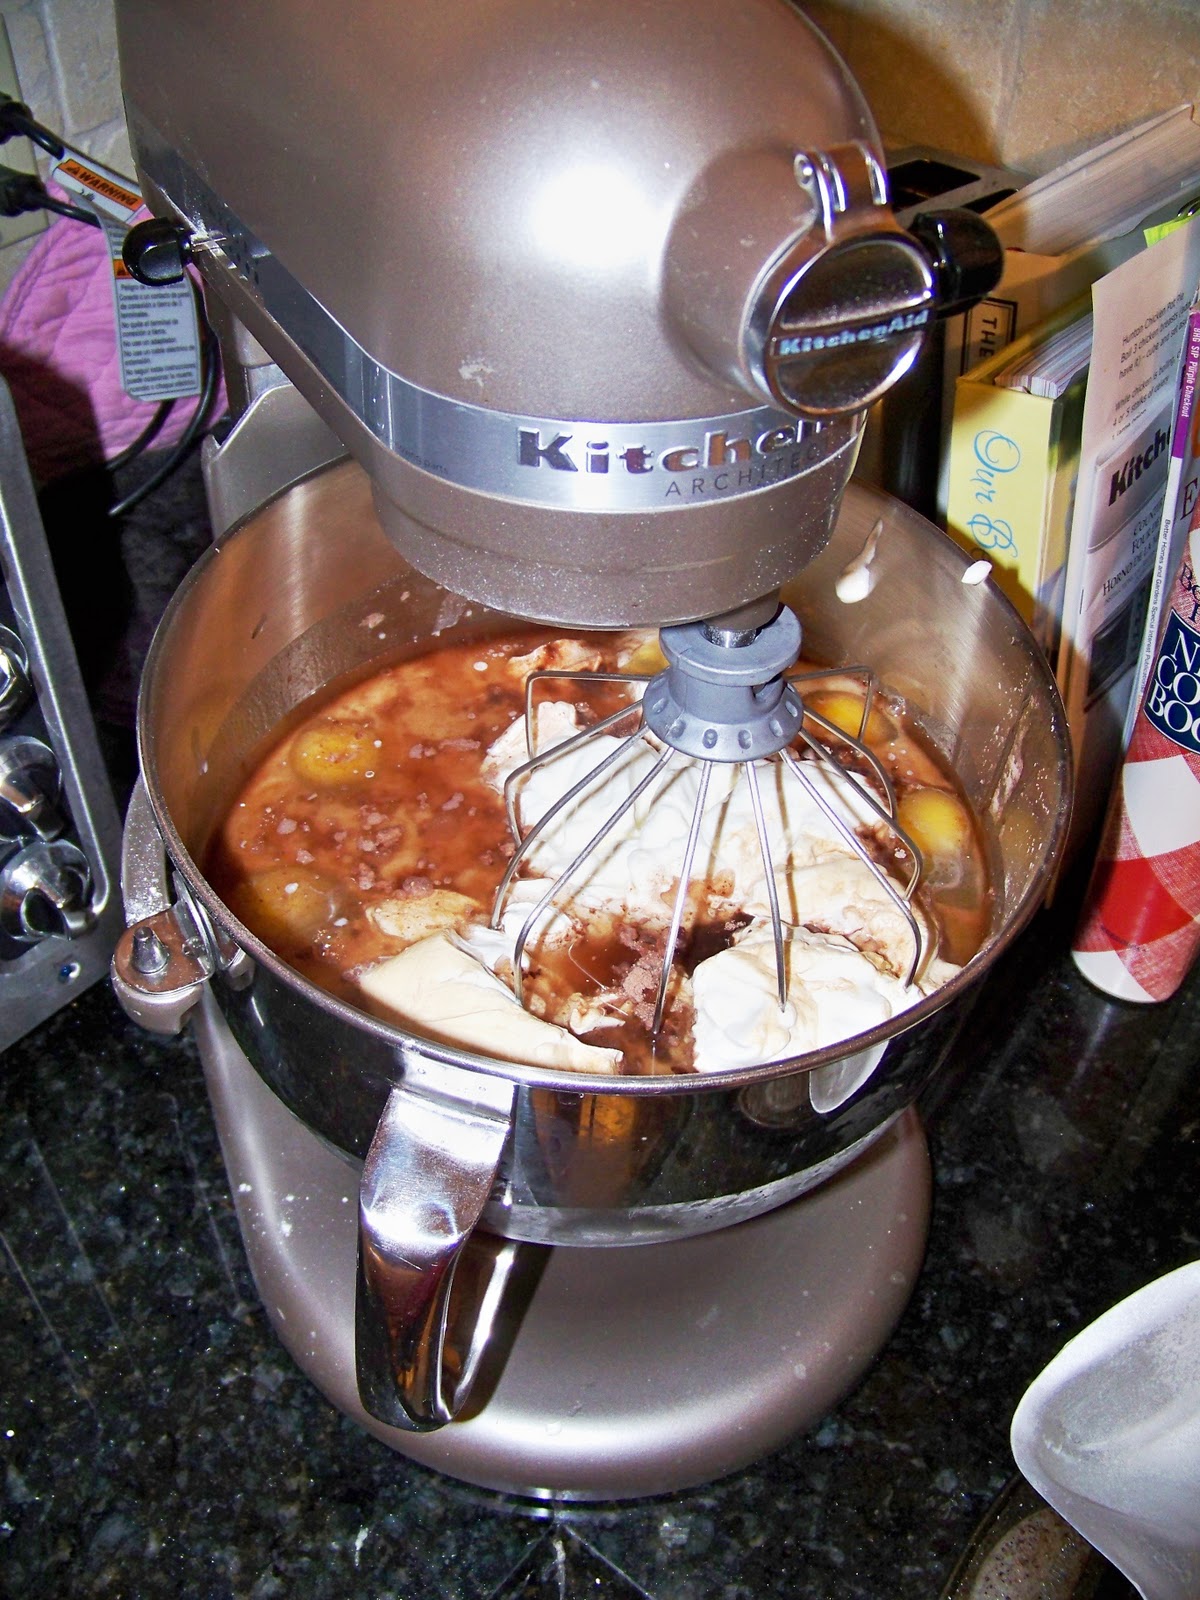
Start by heating the marshmallows and the Peanut Butter in the microwave for 1 minute. Stir and then heat for 30 seconds, stirring in between 30 second increments, until smooth.

Next up, stir in the crispy rice cereal and then drop balls of the mixture onto wax or parchment paper.

While the balls are solidifying a bit place the pretzels in a plastic bag and crush with a rolling pin. Also, place the almond bark in a bowl and microwave, stirring often, until smooth.

Now, take the balls and coat them in the melted almond bark (you could use chocolate or vanilla candy coating as well).

After dipping the PB Balls, roll them in the crushed pretzels and then place back onto the wax paper until the bark has become firm again. Once the treats have cooled....

Voila!! You have a yummy, easy treat that is sure to please anyone with a Salty/Sweet/Peanut Butter craving! Enjoy!
Ingredients:
2 cups marshmallows
1/2 cup Peanut Butter
3 cups Crispy Rice
12 Pretzel Rods (or substitute other pretzel shape)
6 squares Almond Bark
Directions:
1. Melt Marshmallows and PB in microwave for one minute in large bowl. Stir, then continue to microwave in 30 second increments until smooth.
2. Add Crispy Rice to mixture then drop rounded spoonfuls onto wax paper to cool.
3. Place Pretzel rods in a Ziploc bag and crush with a rolling pin.
4. Heat Almond Bark in bowl in the microwave, stirring frequently until smooth.
5. Dip Peanut Butter balls into the melted Almond Bark coating it completely.
6. Drop the coated Peanut Butter balls onto a plate with the crushed pretzels placed on it while bark is still warm and roll to achieve total pretzel coverage.
7. Place back onto wax paper and cool until Almond Bark is firm.
8. Enjoy!
Kung Fu Panda Cake

1. I started by making the most delicious chocolate cake following Amanda's recipe from the blog Kevin & Amanda. This cake is serious business...for the full recipe click here.
2. I filled the Wilton 3D Bear cake pan with the yummy batter. Very nerve racking!!

3. I baked the bear as directed in the oven for about an hour. Doesn't this look funny in the oven?!


5. When I turned the bear to the side I saw that there was actually a LOT of spill over! This is when I began to worry! I tested the cake with a raw spaghetti noodle and was shocked to find that the inside was totally raw! I baked the cake for an additional 30 minutes or so before giving up and taking it out of the oven. The interior core that is supposed to bake the inside portion of the cake was a miserable failure as well. When I flipped the cake over like the instructions directed the bear's guts basically fell out onto the counter! Back to the oven he went! As a result the bear was hollow...the cause of problems to come!


7. I let the bear and the base of the cake cool overnight and the next day, with fingers crossed, opened the bear pan to find....

SUCCESS!
(there was a slight crack in the head, and the whole hollow issue...but pretty good for a first try!)
8. I got the idea to make "bamboo" out of Wilton Green Candy Melts dipped pretzel rods from another blogger and started the process. It took a little longer than expected but the results were cute and yummy!


10. While the candy cooled I started making the Buttercream frosting...also Amanda's recipe. I tripled her recipe which ended up being the perfect amount!


18. I was absolutely beaming with pride!! I placed the bear on top of the base cake, then used buttercream on the bamboo sticks to adhere them to the side of the cake and sort of frame the bear. My final result was pretty darn cute and I was so excited to show him off to my husband!


My sweet hubby was super impressed but quickly our glee turned to terror when he accidentally bumped the box in the refrigerator housing the creation and the bear's head fell off!! I was DEVASTATED!! He felt horrible and we did surgery on the bear to salvage the head. I put the head back on, put a few skewers through the bear to hold it up and then we stacked more bamboo shoots behind him as well to give him some extra support! The end result was not as perfect as I would have liked but then again...what ever is?! Haha... I was finally able to laugh about it...the next day...and my husband is now officially out of the dog house! Lesson learned: refrigerate incredible 3D cake creations in a separate refrigerator!
The cake was a big hit at the party and tasted great too! It made me so happy to see how excited Adler was to have a special cake for his special day.
Only 3 1/2 months until my second nephew's birthday...will I be able to pull this off again!?! I'm certainly up for the challenge! :)

No comments:
Post a Comment