Wednesday, December 14, 2011

Deck the Halls!

We are officially ready for Christmas!  I have decorated the house, the presents are wrapped and our apple cider recipe is perfected!  My sister gave me a great tip on decorating this year that I thought I would share.  At Home Depot if you go to the area outside where the Christmas Trees are you will see a bin of scraps.  They are free and make beautiful decorations for the mantle...and did I mention they are FREE?! :)  I added a few silk poinsettia flowers and other decorations to the mantle, TV stand and our accent wall and I must say the house is full of Christmas cheer!


The mantle is a combination of lights, tree limb scraps, poinsettia leaves and silver pinecone branch.

Our little tree!  We bought this tree the first year we were dating and it has been 'our tree' every Christmas since.  This year I added a few more poinsettia flowers to try and jazz it up a bit!

The TV stand got a little spruce up.

And even Hamburger is ready for Christmas!

Merry Christmas to all and to all a good night!


Sunday, December 11, 2011

Rylie vs. Red Velvet Cake

My mom makes the most fabulous Red Velvet Cake every year for the holidays.  It is something I always look forward to at Christmas and everyone in our family just loves it!  We were invited to a dinner party recently and I had the idea to bring over my mom's famous cake for dessert...knowing everyone would love it just as much as me!  The recipe is as follows:

Red Velvet Cake

Ingredients:
1/2 c Crisco
2 eggs
2 oz red food color
2 c flour
1 tsp vinegar
1 tsp salt
1 1/2 c sugar
1 tsp vanilla
2 tsp cocoa
1 c buttermilk
2 tsp baking soda

Directions:
1. Cream crisco and sugar then add eggs one at a time, beating in between.
2.  Add food coloring and vanilla.
3.  Sift flour and cocoa together, adding alternately with buttermilk, stirring between each addition.
4.  Mix vinegar and soda together then add in and mix all together.
5.  Bake at 350 for 25-30 minutes

Icing:  (This is different than traditional cream cheese but SO yummy!)
Ingredients:
1 c Milk
pinch of salt
1 stick margarine
1 tsp vanilla
1/4 c flour
1 c sugar
1/2 c crisco

Directions:
1.  Cook milk and flour in pan over low hear and add a pinch of salt until it thickens like a paste.
2.  Set aside and let cool
3.  Beat sugar, margarine, crisco and vanilla
4.  Add flour mixure to crisco mixture and beat until light and fluffy
5.  Ice cake...enjoy!


Here are a few pics of the steps above that I followed....

All the ingredients you will need...except Milk...I forgot to set that out!

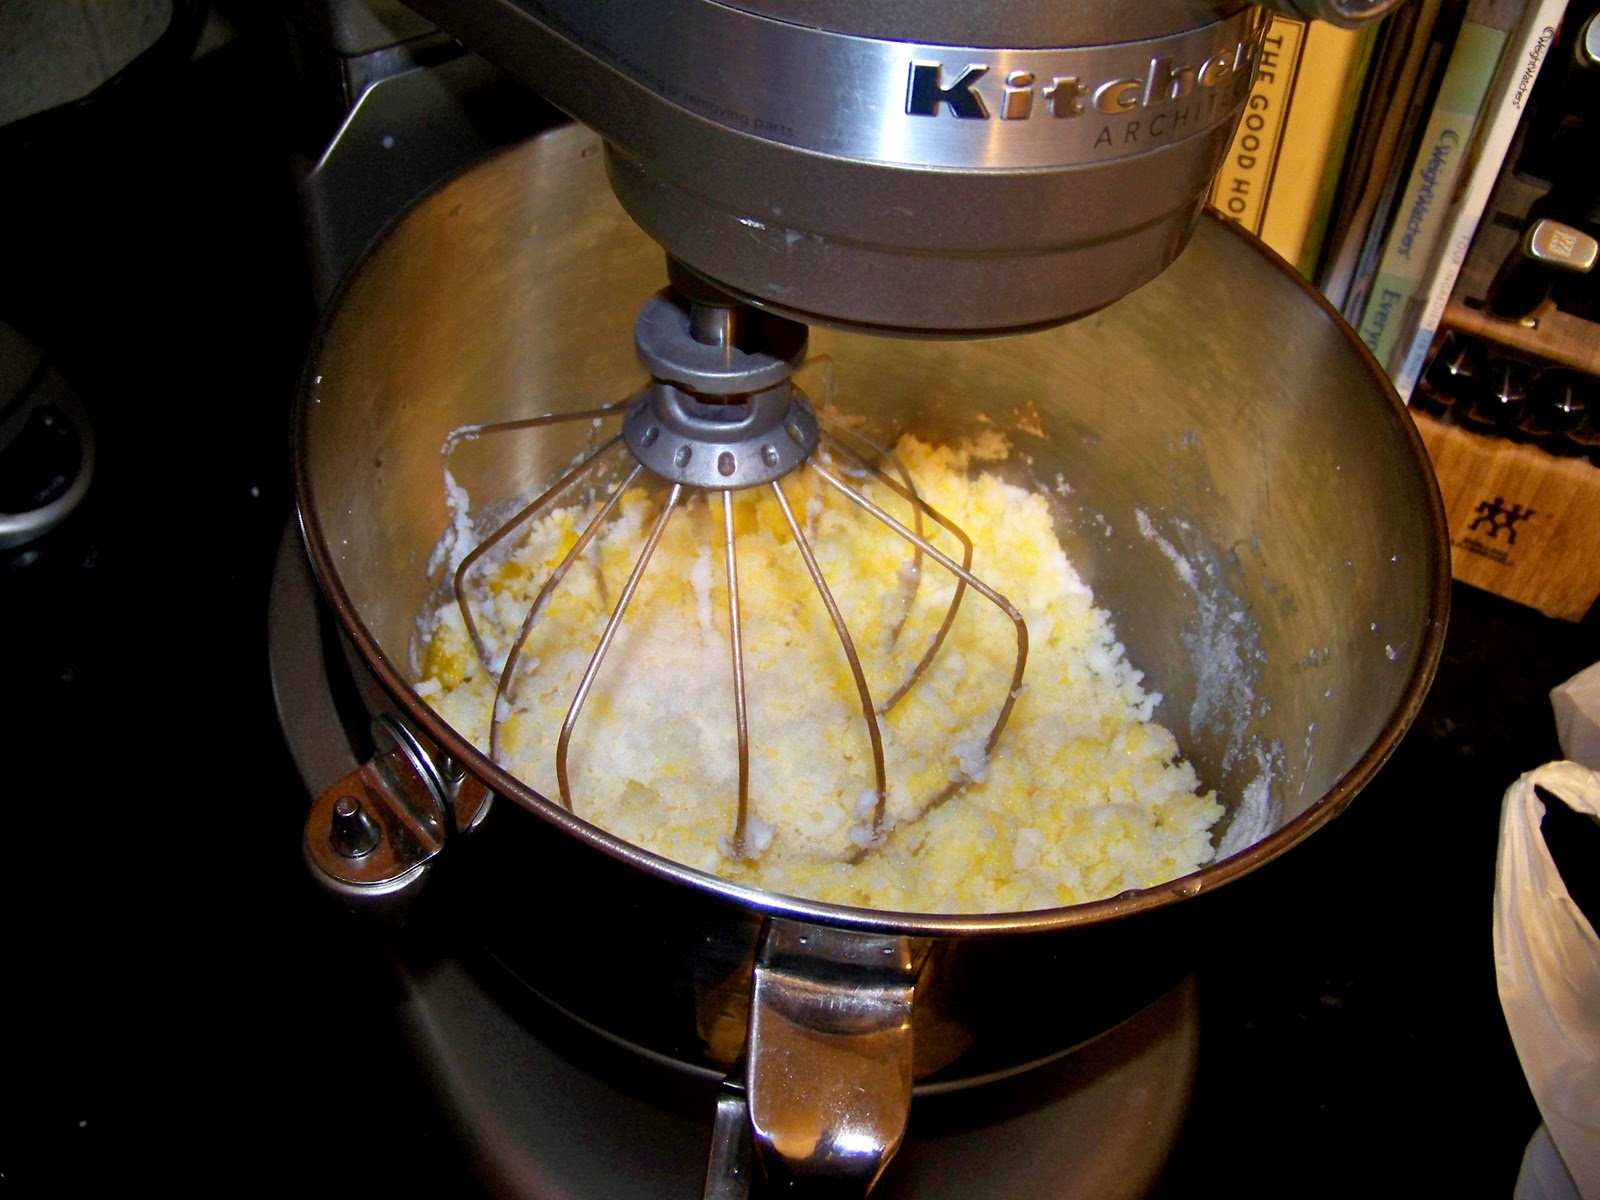
Creaming the crisco and sugar and then....

adding an egg one at a time.

Next, I added food coloring to the mix

and got this beautiful color.

Then I sifted the flour into the mix, added the soda and baked the cake.


I cleaned up the kitchen, fixed myself a Diet Coke and sat on the couch watching a Christmas movie and anxiously awaited the cake to bake!  I was so excited when I heard the timer beep!!  I opened the oven door and low and behold.....!!!!!


*insert sound here* (wah wah wahhhhhhh.....)

Huge failure!  I was so disappointed and totally confused!!


I still insist I followed my mom's directions perfectly  but somehow things did not go as planned!


BIG bummer! 

I am looking forward to heading home for Christmas and getting a private lesson from my mom on how to properly execute the famed Red Velvet Cake!  Stay tuned! 

Since I was unsuccessful at baking the Red Velvet Cake I turned to a cookbook that includes recipes from some of the most delicious restaurants in Atlanta.  One recipe for a cake called, "A Very Good Chocolate Cake" sounded promising and was from a great restaurant, Watershed, so I decided to give it a shot. 

A Very Good Chocolate Cake-Watershed

Ingredients:

    For the cake: Butter and flour for pans, 2 cups granulated sugar, 1 1/2 cups all-purpose flour, 1/2 teaspoon salt, 3/4 teaspoon baking soda, 4 ounces unsweetened chocolate, chopped 1 cup hot double-strength brewed coffee, 1/2 cup vegetable oil, 2 eggs, room temperature, 1 1/2 teaspoons pure vanilla extract, 1/2 cup sour cream, at room temperature
    For the frosting: 1 cup heavy cream, 1 stick unsalted butter, 1/3 cup granulated sugar, 1/4 teaspoon salt, 1 pound semisweet chocolate, chopped, 1 teaspoon pure vanilla extract, 1/4 cup double-strength brewed coffee

Instructions:

Preheat oven to 325 degrees. Butter and flour two 9-inch cake pans.
To make the cake: In a bowl, sift together sugar, flour, salt and baking soda; set aside. Stir 4 ounces chocolate into the hot coffee and allow to melt completely. In a large bowl, mix together the oil, eggs, vanilla and sour cream. Stir in the melted chocolate mixture and blend well. Add the flour mixture in 1/3 increments, stirring well after each addition. Divide batter among prepared cake pans. Bake for 30 to 40 minutes or until cake tester inserted in the center comes out clean.

To make the frosting: Heat the cream, butter, sugar and salt over low heat until butter is melted. Remove from heat and stir in chocolate until melted and smooth. Add vanilla and coffee; stir until blended. Allow mixture to cool to room temperature and to a spreadable consistency. Frost the top of one layer, top with second layer, then frost the top and sides.
And this was my result:


I was happy to have something to take to our dinner party and it was a BIG hit as well!! :)

Thursday, December 1, 2011

Pumpkin Cake with Cinnamon Cream Cheese Frosting


Happy December!  I hope everyone had a WONDERFUL Thanksgiving!  If it was anything like mine your ate WAY too much but enjoyed every single second of it!  For Thanksgiving this year my sisters and I and our families all got together and had a huge spread.  It was pretty funny because initially our plan was to have a very casual day, a simple meal, etc....well that plan totally fell through!  Everyone ended up having to bring their favorite dishes so the meal included all of the following:

Turkey
Ham
Mashed Potatoes
Gravy (white and dark)
Broccoli Casserole
Squash Casserole
Sweet Potato Casserole
Roasted Veggies
Collard Greens
Rolls with Herbed Butter
Cranberries
Stuffing
Green Bean Casserole
Spinach Dip
Macaroni & Cheese
Pumpkin Cake
Chocolate Cream Pie
Key Lime Pie
Chocolate Dipped Peanut Butter Bites

This cracks me up writing all of this out!  We only fed 5 adults and 2 kids...needless to say we had a TON of leftovers! 

The dish I brought that I was most proud of was Pumpkin Cake.  It turned out SO moist and delicious!  Feel free to check out the recipe below and Happy Baking! :)

Pumpkin Cake with Cinnamon Cream Cheese Frosting


Pumpkin Cake
1 box yellow cake mix (Duncan Hines)
1/2 c. cooking oil
1 c. canned pumpkin
3/4 c. sugar
1/4 c. water
4 eggs
1 tsp. cinnamon
1/8 tsp. nutmeg
Mix all ingredients well until smooth. Bake in a 2 greased and floured pans at 350 degrees for 1 hour. Top with icing and sugared walnuts (I made mine homemade but you can buy them also)
Cinnamon Cream Cheese Frosting (adopted from Picky Palate.com)
8 tablespoons softened cream cheese
8 tablespoons softened unsalted butter
8 cups powdered sugar
1 teaspoon cinnamon


To prepare frosting, place butter and cream cheese into a mixing bowl, beating until creamy and smooth. Slowly add powdered sugar until you get the consistency you desire….between 3 and 4 cups. Stir in cinnamon then frost over cake, adding walnuts last!  Enjoy! 

Friday, November 11, 2011

Stationary for Grandma!

My grandmother is quite a special lady!  I have so many fond memories of sitting around the kitchen table with her and my sisters and her teaching us how to paint.  We usually painted in watercolor and always destroyed her brushes by making our trees by just smashing the brush onto the paper.  She was a good sport, never complaining much about her brushes and encouraged us onward in our creativity.  I remember looking so forward to her taking her special art bag out of her suitcase and showing me what she wanted us to paint.  Those are such special times in my memory.  I am grateful that she spent countless hours with us and found something so special to bond with my sisters and I over every visit. 

I attribute a lot of my love for art to my grandmother.  We are leaving today to visit my grandmother (Bryan's first visit to Grandma's!) and I made a special gift to give her on this visit.  Her mailbox is very unique and was built by my dad and his brother.  It arches out elegantly towards the street from the tree branch it rests on and always serves as a great welcome to her home.

I wanted to make her a unique gift and since she loves beautiful stationary (she has been known to cut and paste them just to reuse a beautiful card...haha) I thought a card with an ink drawing of her special mailbox would do just fine!  I created the drawing first and then printed the cards out with her name on them on cardstock paper and folded them.  I hope she will love her gift and remember our special times sitting around the table painting together each time she takes one out of the box!


See the original drawing here.

Please email me if you would like to have your own personalized stationary...I would love to create it for you!

Sunday, November 6, 2011

Cotton Gin Festival


This past weekend Bryan and I visited the Cotton Gin Festival in Bostwick, GA.  It was a really neat experience to see the cotton growing in the fields and then see it being processed in the cotton gin.  I hope you enjoy a few pictures from our visit!


Monday, October 31, 2011

Happy Halloween!

Our front door is decked out for Halloween this year complete with wreath and jack-o'-lantern!  The candy is ready for trick or treaters so hopefully we'll have a few come by! :)

Cake baking adventure!


Be sure to check out the Kitchen Creations page to see the cake I made for my nephew's birthday!

Monday, October 24, 2011

Dining a la Mug Shot!


Bryan was out of town working for two weeks and when he came home our new dining room was waiting for him!  What a surprise!   I made the dining room table out of two wine racks from World Market and the table top was something I put together with supplies from Home Depot.  I took 3 long planks, connected them underneath with smaller pieces of wood, then stained the table top, weathered it with sandpaper and a screwdriver (there is probably a tool for that?) and finally laquered the entire top with 2 coats before applying it to the wine rack legs. For the lighting I took mason jars from Target and put small candles inside which I think look really neat all lit up on the shelves...also from Target!  The chairs are super cool and from IKEA...they even rock slightly which is a great little feature.  The painting is a Rylie Caldwell special and it certainly provided the shock value I was looking for when he walked in the door!  When I did the painting I thought it would be clever and a conversation piece.  I didn't plan on it looking like a cow mug shot!!  Haha...I laughed so hard hanging this up on the wall.  It will definitely be interesting to see what our guests have to say about it until we change it up!

Under Construction


Before our renovation projects....